Version 3.x runs on a modern Linux OS that must be written manually to the SD card. This guide also covers SD card recovery if the card has failed.
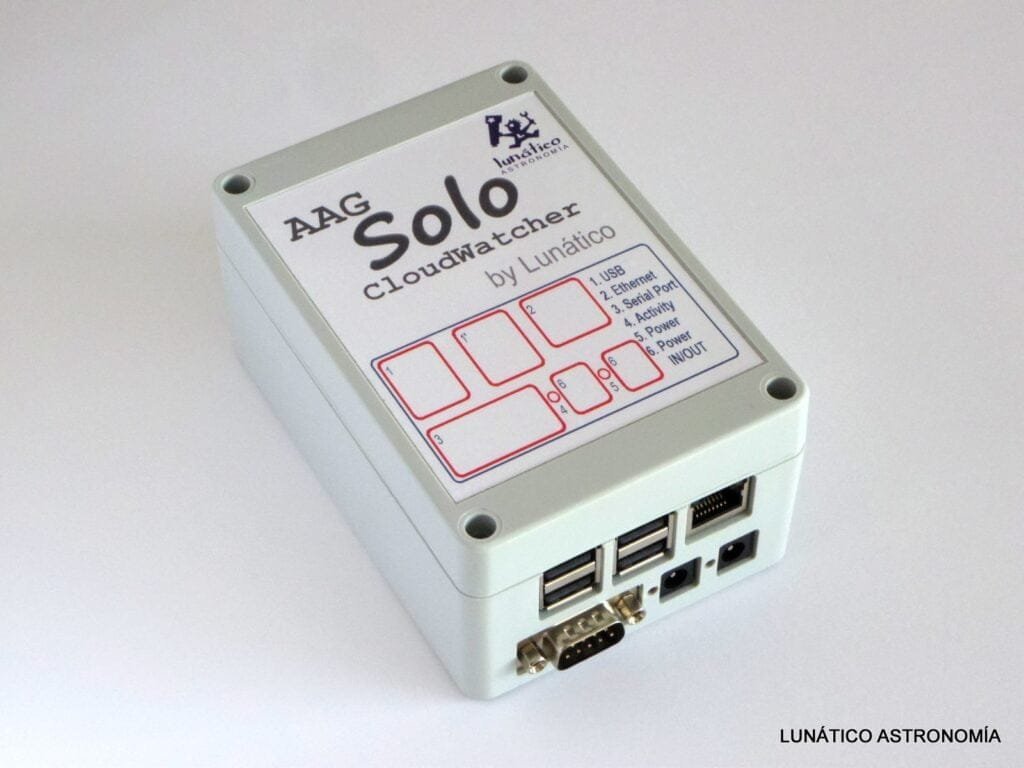
Choose the correct image based on your Solo hardware. Model R ships with a USB adapter, so use the Solo-R image if that's your unit:
Extract the ZIP: inside you will find an .iso file (e.g. Solo3.7.iso).
You need a micro-SD card of 8 GB or larger. The card does not need to be pre-formatted: the image writer will overwrite everything on it.
If you are re-writing the card that is currently in your Solo, take it out first — the Solo must be powered off before you remove the card (see step 4).
All existing data on the SD card will be erased. Make sure you are writing to the correct drive.
Either of these free Windows tools will work:
There is no need to format the card: just select the .iso file and the SD card drive, and record the image, overwriting whatever is on the card.
To remove the SD card from the Solo:
Insert the newly written card, power the Solo back on, and wait for it to boot.
Once at version 3.x, future updates will work as usual from the Solo configuration page, clicking the Update button — no SD card work needed. This "generation 3" of the Solo brings many new features; please check the version history.
