
This blog post, along with all associated files, was kindly written and shared with us by Kenneth Toliver (check out his Astrobin profile and website).
Thank you, Ken!
I want to have a single source dashboard for all my observatory monitoring, including limited control over equipment so I can open my ROR and turn on fans to cool down without even booting my imaging PC or starting the DF software.
Overview
Home Assistant (HA) is primarily used for home automation. The official Home Assistant Operating System (HAOS) is a purpose-built Linux distribution optimized specifically to host the Home Assistant software and its apps.
People everywhere use this little application to control everything around their homes including lighting, security systems, cameras, appliances, climate controls, etc. It is built for efficiency and does not require a full PC to use; a single-board computer (SBC) or microcomputer, such as the Raspberry Pi, is all that is required to run it; no Windows OS required. I run it on a RPi 4.
When planning the control scheme for my Remote Observatory (RO), HA was my first choice for BASIC control of the Roll Off Roof (ROR) based on accessibility and ease of use. Where HA excels is its universal access to hundreds of devices and it’s built in templates that allow the user to develop a custom GUI representing all of their devices, status, control methods, etc. Additionally, custom automations can be strung together to perform automation. I’ve attached screenshots of mu GUI screens so you can get an idea of how I’ve set mine up.
But don’t misunderstand; the true ROR automation will run through imaging software, NINA, and scripts that are written to allow NINA to utilize the Dragonfly (DF) sensors and relays in Advanced Sequencer Automations. That will all be accomplished through a Windows based mini-PC; however, that is not the focus of this blog. Rather, this blog is to discuss the use of HA as a secondary control window, and GUI monitor, allowing the user to control various functions via an interface directly to the DF.
So why do I need it? I want to have a single source dashboard for all my observatory monitoring, including limited control over equipment so I can open my ROR and turn on fans to cool down without even booting my imaging PC or starting the DF software. The RPi consumes almost nothing and is extremely efficient for a solar based remote observatory.
Observatory Setup
To the right is a schematic diagram of my system including all my hardware and the interfaces to the Dragonfly.
Right click + «Open image in new tab» to see them full size.
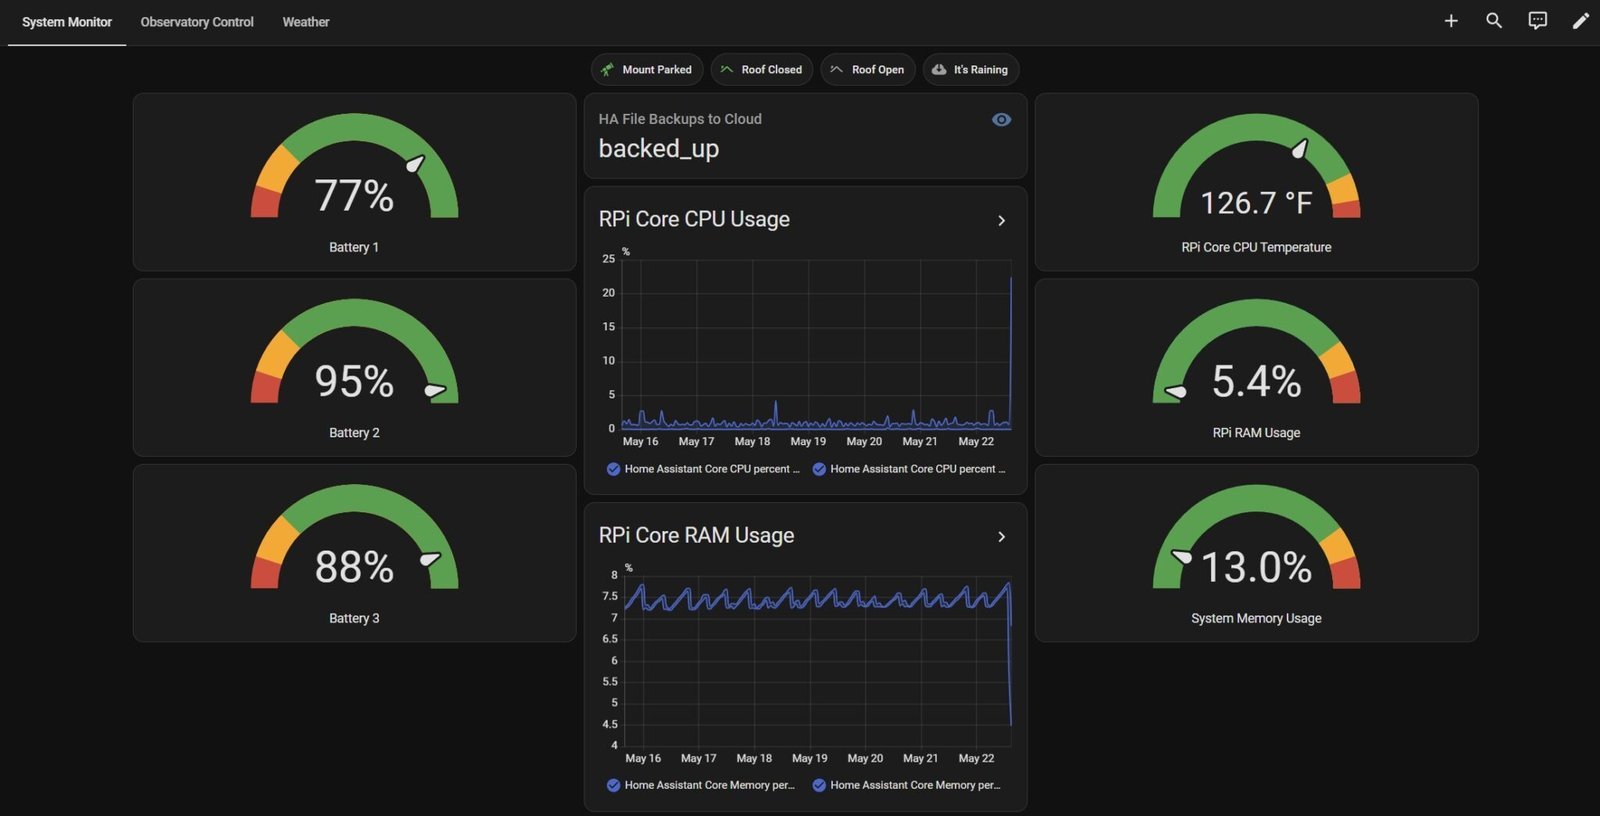
Screen 1: System Monitor
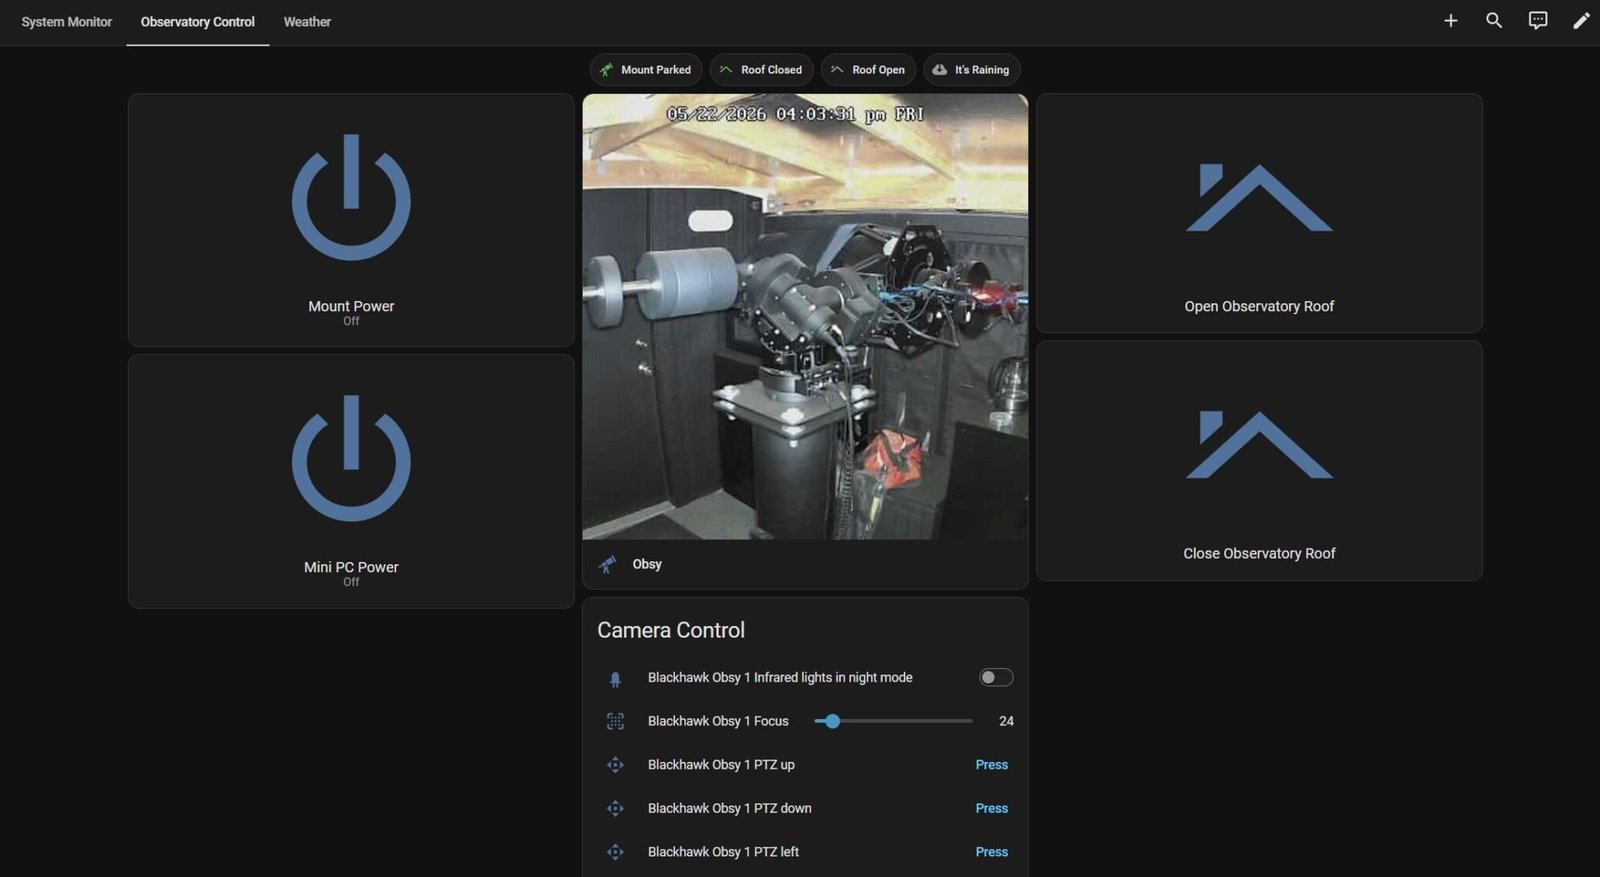
Screen 2: Observatory Control
And here are examples of the graphic screens for my observatory that I built with minimal understanding of HA. These same screens, and pushbutton controls, are available to me from any PC via a web browser, and from my cell phone. I find it extremely convenient.
Both Screen 1 and 3 were configured by integrating different add-ons developed by a thriving community that supports all types of integrations, no fancy programming knowledge required. But we will only focus on the content in Screen 2: Observatory Control.
Screen 2 incorporates 4 buttons and 4 monitor points, all of which are directly linked to the DF sensors and relays. The button logic is built within HA Scripts; they do not depend upon a DF script or macro since they cannot be called directly from HA. The logic is robust and integrates the typical safeties you want when opening and closing the ROR, i.e., checking whether the mount is parked or whether it is raining outside.
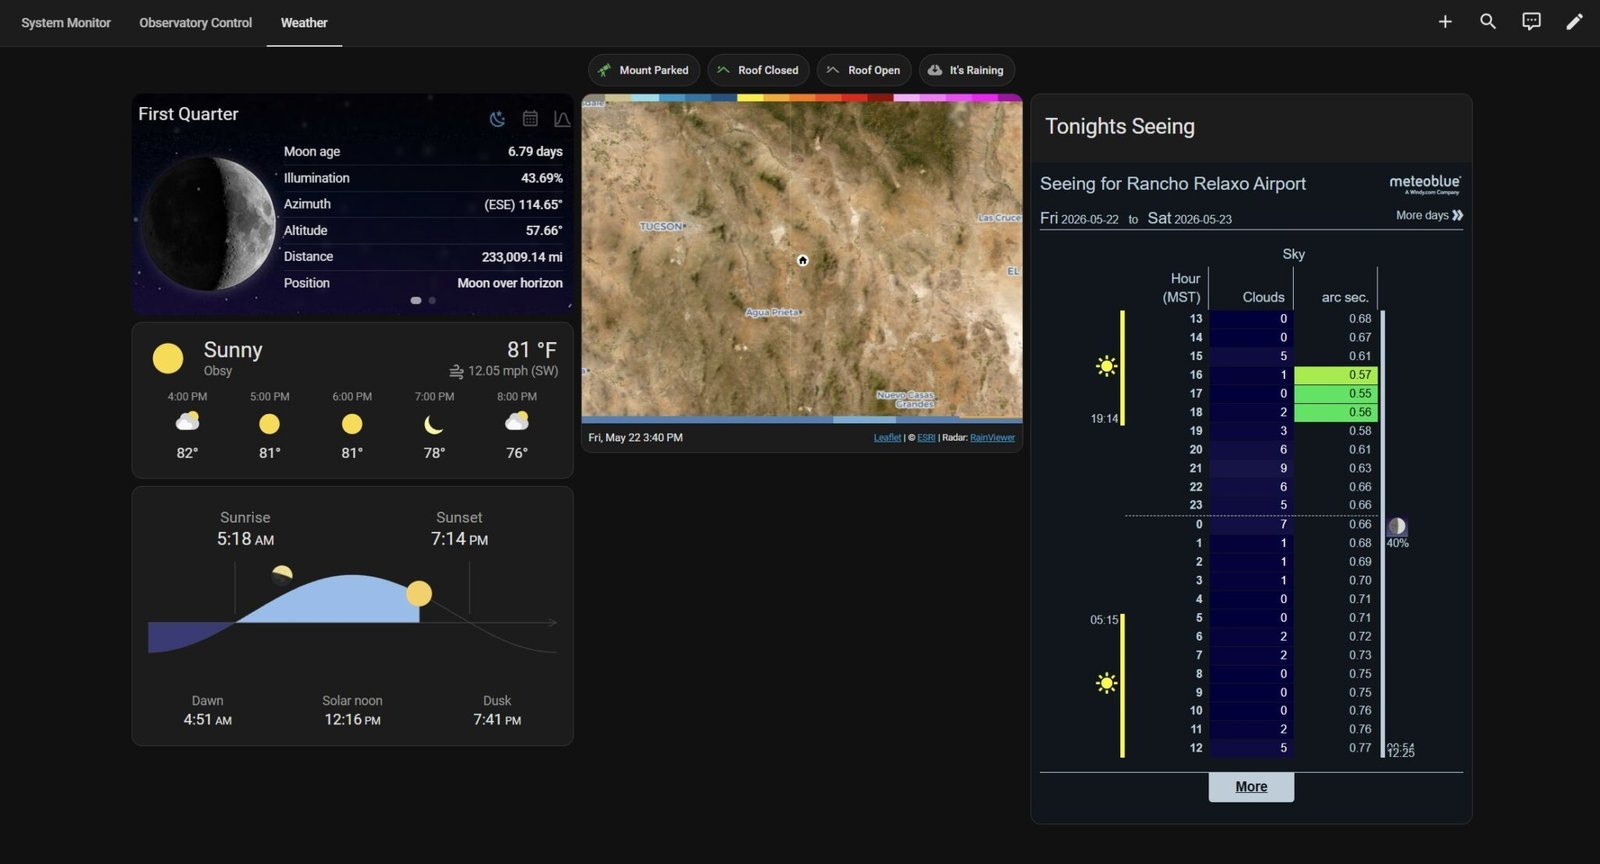
Screen 3: Weather
HA Configuration Files
The first file included is the configuration.yaml and is the primary HA configuration file that includes all the core code that allows HA to expose, or “see”, all the DF relays and switches. Those relays and switches are named in accordance with my system devices and control schemes; you will need to modify them for your own specific setup.
The second file included is the scripts.yaml and contains the code that controls the Roof Open and Roof Close logic when the Screen 2 buttons are pressed. The safeties mentioned earlier are integrated within it. Please note that the Mount Power and Mini PC Power buttons require no special script and are configured 100% within HA; very simple.