
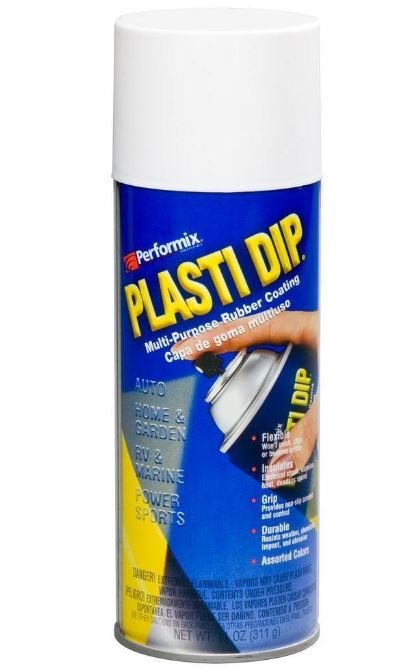
For the last few years we've been using the Plastidip rubber coating not only to protect the rain sensors in the CloudWatcher but also to fill the gaps around the light sensor window in the top of the unit.
A thin layer of Plastidip on the rain sensor will protect it from UV, affecting very little to its sensitivity. Otherwise, a lack of protection in the rain sensor limits its life to between 1 and 3 years.
Applying it is really easy. This is our procedure:
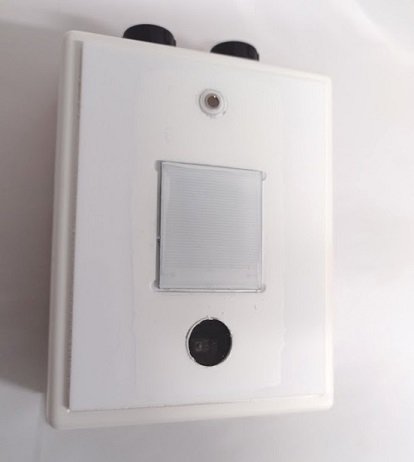
1.- Cover the IR sensor (center of it) carefully, we use a small sticker as in the image:
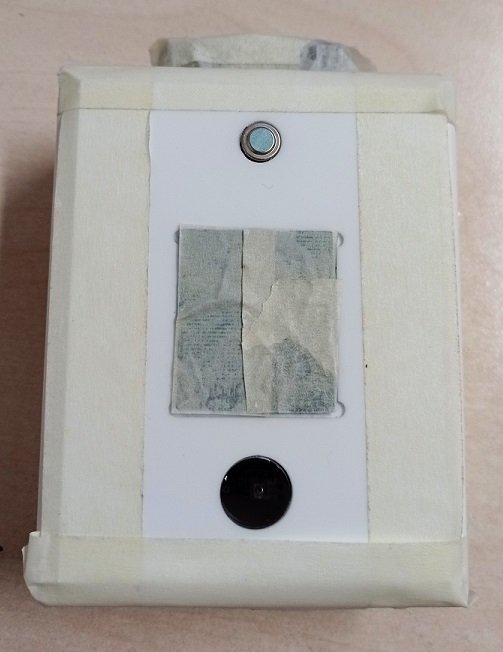
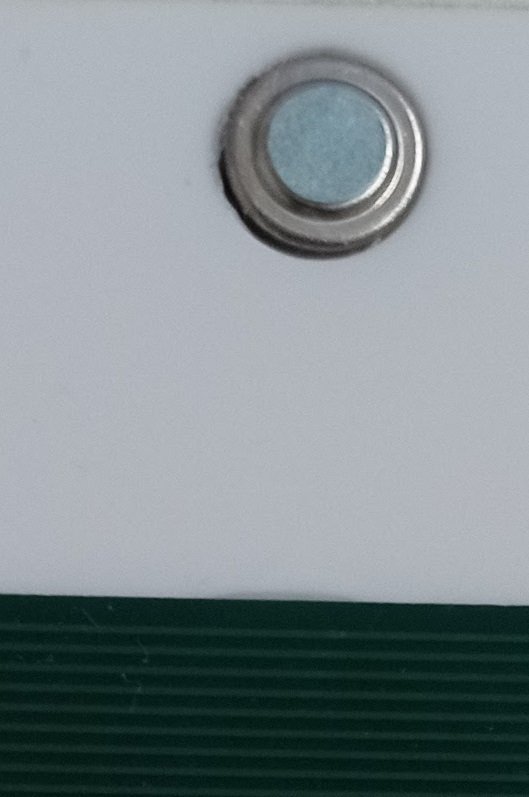
Cover also most of the rain sensor.
And also an outer mask to avoid making a mess, leaving uncovered a big rectangle including all 3 sensors. Cover also the cable connectors.
2- Apply a few thin layers all over the device. 2 or 3 layers will be enough. Spray from 20 cm or so, a couple of seconds each pass as you move from one side to the other.
3.- Remove the cover of the RAIN SENSOR and apply a few layers, lightly, until the rain sensor is fully covered, but do not overcoat. Basically, stop when the white layer covers completely the sensor. See the final image below.
4.- When the Plastidp is dry (2-3 hours), remove the IR cover very carefully and also the plastidip covering the light sensor clear window.
5.- We now need to apply a bit of Plastidip with a brush, to cover the gaps around the sensors, if there are any. In order to do so, we spray the inside of a jar lid (any non-porous surface will do, we'll use it as a painter's palette), and take the Plastidip from there with the brush, carefully filling the gaps:
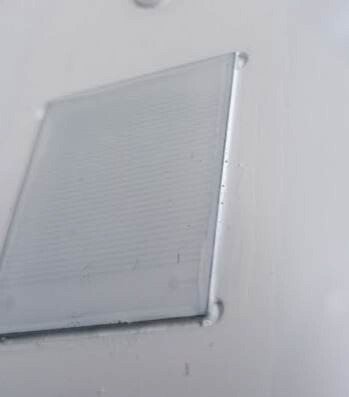
And that's all, your CW is ready to work effectively for many years :)
If you have problems during the procedure, and want to start from zero, removing it is quite easy, it will tear-off nicely once dry.