
- Run
Setup.exe. - Create a directory in a local disk and make it shareable to other users in the local network.
- Connect the AAG_CloudWatcher before starting the program.
- Start the program.
- The program will prompt you:
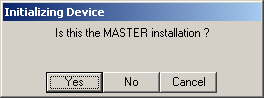
- Select "Yes" for MASTER installation.
- The program will display the following window:
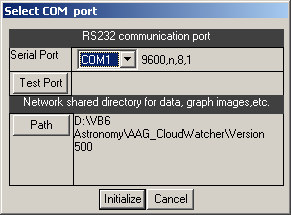
- Select the port number to which the AAG_CloudWatcher is connected, and select the path corresponding to the directory created in step 2.
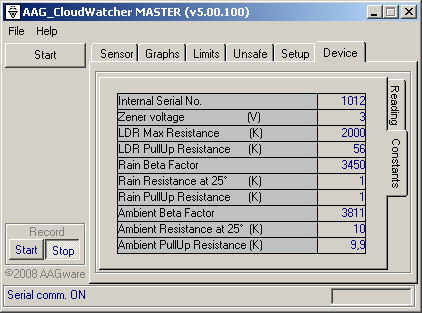
- Select button "Initialize", and the system will initialize the electrical constants for the device.
The program will display the Constants section of the Device tab:
- Check the Device section of the Setup tab:
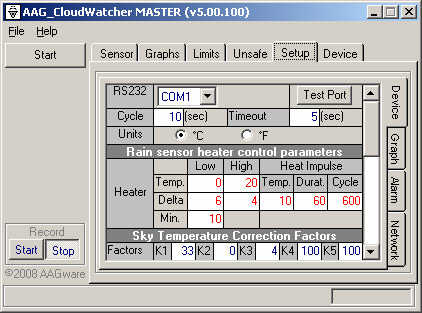
- Select "Switch Cntrl disabled" if you do not wish the AAG_CloudWatcher to control the switch—this allows other external programs to control the switch.
- Check the Temperature Correction Factors K1, K2, K3, K4 and K5, and make any adjustments that you deem necessary.
- Check the Graph section of the Setup tab:
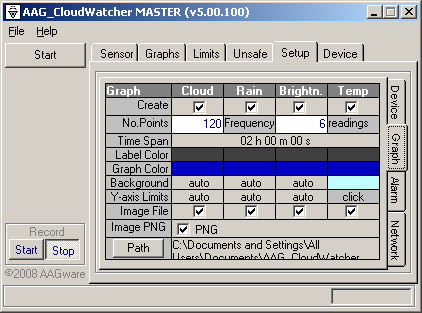
- Adjust the graph time span by adjusting the number of points and frequency. The total graph span is given by: Total Span = (No. of Points) × (Frequency) × (Read Cycle).
- Use PNG image files rather than JPEG—they are smaller in size and have a higher quality.
Setting up a computer elsewhere on the network to read this data, without a CloudWatcher connected to it? See REMOTE installation.