
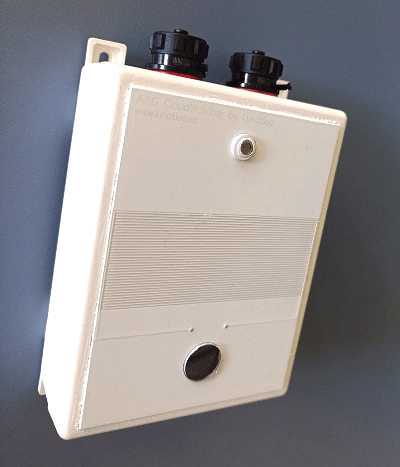
Many problems are just configuration issues; others, however, are caused by failed, worn or damaged sensors.
Please check the list and follow the steps outlined before contacting us for further support. If this does not solve the problem, you can reach out to us at support@lunaticoastro.com.
If you have a SOLO: bear in mind that it plays the role of the PC, so it may be difficult to discern if the issue is caused by the CloudWatcher or the SOLO. SOLO failures are very infrequent—if you can access the SOLO's webpage and change its configuration, that, in most cases, means it is working properly.
If it is not receiving data from the CW, please work your way through this guide in order to fix the problem. Ideally, connect the CW to a computer while you troubleshoot—it will make things easier.
If the SOLO's webpage, however, does not work, try re-recording the SD card (or a new one, if the current one fails to be recorded). If the issue persists, email us.
A guide to this guide
Please refer to the following index and look for your issue here. Carrying out the general tests first will take a couple of minutes at most and is strongly advised.
If the issue persists, check out the rest of the list. Should none of these symptoms resonate with what you are experiencing, don't hesitate to reach out to us at support@lunaticoastro.com.
- General tests
- Installation / first use problems
- Problems after a period of working correctly
- No communication with the PC
- Rain / clouds not detected
- Rain sensor reads 0
- Wrong IR (and possibly ambient) temperature readings
- Very high / weird humidity readings (external RH + Pressure sensor)
- Wrong readings in general, loss of communication, strange behaviour
- Unsafe being reported while all values are within limits
General tests
Making sure the CloudWatcher is receiving power
- One easy way to check whether your CloudWatcher is receiving power is listening for the sound the relay makes as the device is plugged into the power supply. It should make a faint click, and three seconds later, another one.
- Modern units (from serial number 1206) have an LED that can be seen, from below, in the dark. It should blink slowly.
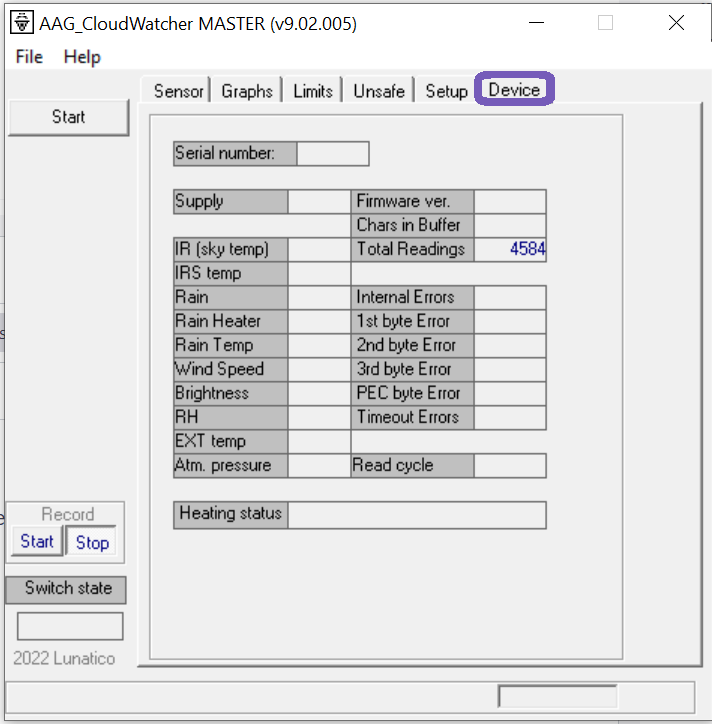
Accessing all the "raw" data
It might be useful for your troubleshooting process to access the data your CloudWatcher is getting as it is. You can do so in the "Device" tab in the software:
Make sure you are using the latest software and firmware version
Please refer to software & other downloads.
Installation / first use problems
No communication with the PC
- Make sure the correct serial port is selected (has to be in the range 1 to 16; the port assigned to a USB/Serial adapter can be checked in the "device administrator").
- Clicking the "Test port" button, you may check that the program can open the port, not that the CloudWatcher is physically attached to it.
- Make sure the CW is getting correct power (see the "Making sure the CloudWatcher is receiving power" section above).
Problems after a period of working correctly
No communication with the PC
- Check the power supply—12V 1A (min), or 15V 800mA (min).
- Check cabling.
- Replace the USB/Serial converter if one is in use (they are the source of most communication problems).
- Try unplugging the external sensor (if you have it).
Rain / clouds not detected
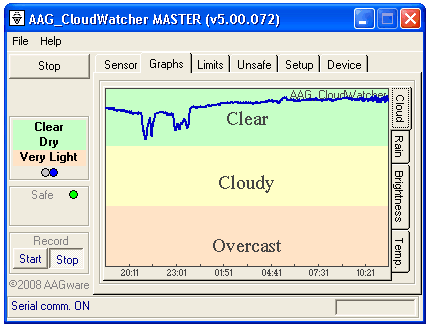
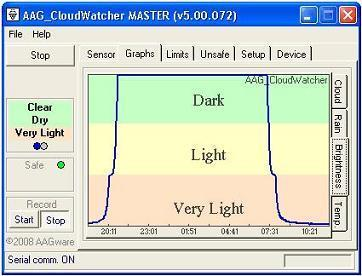
If the graphs for rain and clouds behave correctly (going up and down following the real conditions), then most likely it is just a configuration problem:
- For clouds, please check: Notes on cloud detection.
- For the rain sensor, please check: Rain sensor calibration.
Rain sensor reads 0
This usually means a failure of the sensor, but can also be caused by dirt on its surface.
- Visually check (and clean if needed) the rain sensor.
- Replace the rain sensor if not fixed.
The rain sensor has a limited life, several years on average, but depending on the harshness of the conditions, especially the UV radiation.
Wrong IR (and possibly ambient) temperature readings
Please note that it is quite strange for the IR sensor to be the origin of the failure. Email us at support@lunaticoastro.com if you think it might be the case. You may also:
- Check both the IR temperature offset and the ambient temperature offset in the configuration.
- Visually inspect the IR sensor for something covering its small glass window.
Very high / weird humidity readings (for units with the optional external Relative Humidity + Pressure sensor)
- Update to the latest firmware.
- Check your physical installation to make sure there is no way water is bouncing into the sensor.
- Ultimately, replace the RH+P sensor.
Wrong readings in general, loss of communication, strange behaviour
Please update to the latest firmware version.
Unsafe being reported while all values are within limits
100% of the time this is a consequence of either:
- the "Delay after unsafe" setting, or
- values that sporadically cross the safe/unsafe boundary but do not make it to the graph (composed of discrete samples).
- If using a SOLO, you can check the
\\aagsolo\tmp\debug.logfile—you'll see each unsafe event, when it was triggered and why. - In the Windows program, this can be accomplished by selecting the "debug" mode in the Network side tab, inside the Settings tab. This information will be saved inside the user data file.