
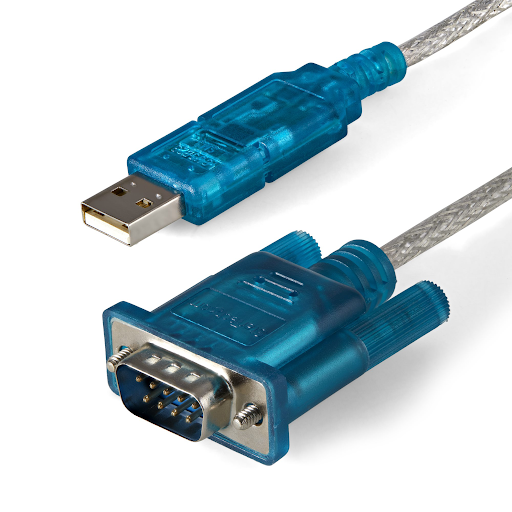
To connect the CloudWatcher, follow the steps below
- Attach the CloudWatcher's DB9, female connector to the corresponding male connector of the serial-to-USB adapter cable.
- The USB plug of the serial-to-USB adapter should be connected to one of the USB ports on the underside of the SOLO model R. In theory, any USB port on the SOLO model R should work; however, we recommend using the blue-coloured (USB 3.0) socket, as this was used during development and testing.
- Connect an ethernet cable to the socket adjacent to the USB ports.
- Connect a 12V power source to the SOLO model R (using either socket).
- Connect the supplied short power adapter to the unused socket on the SOLO model R, and connect the other end to the socket on the CloudWatcher cable. This step may be omitted if the CloudWatcher is already powered.
The underside of the SOLO should now appear as below:
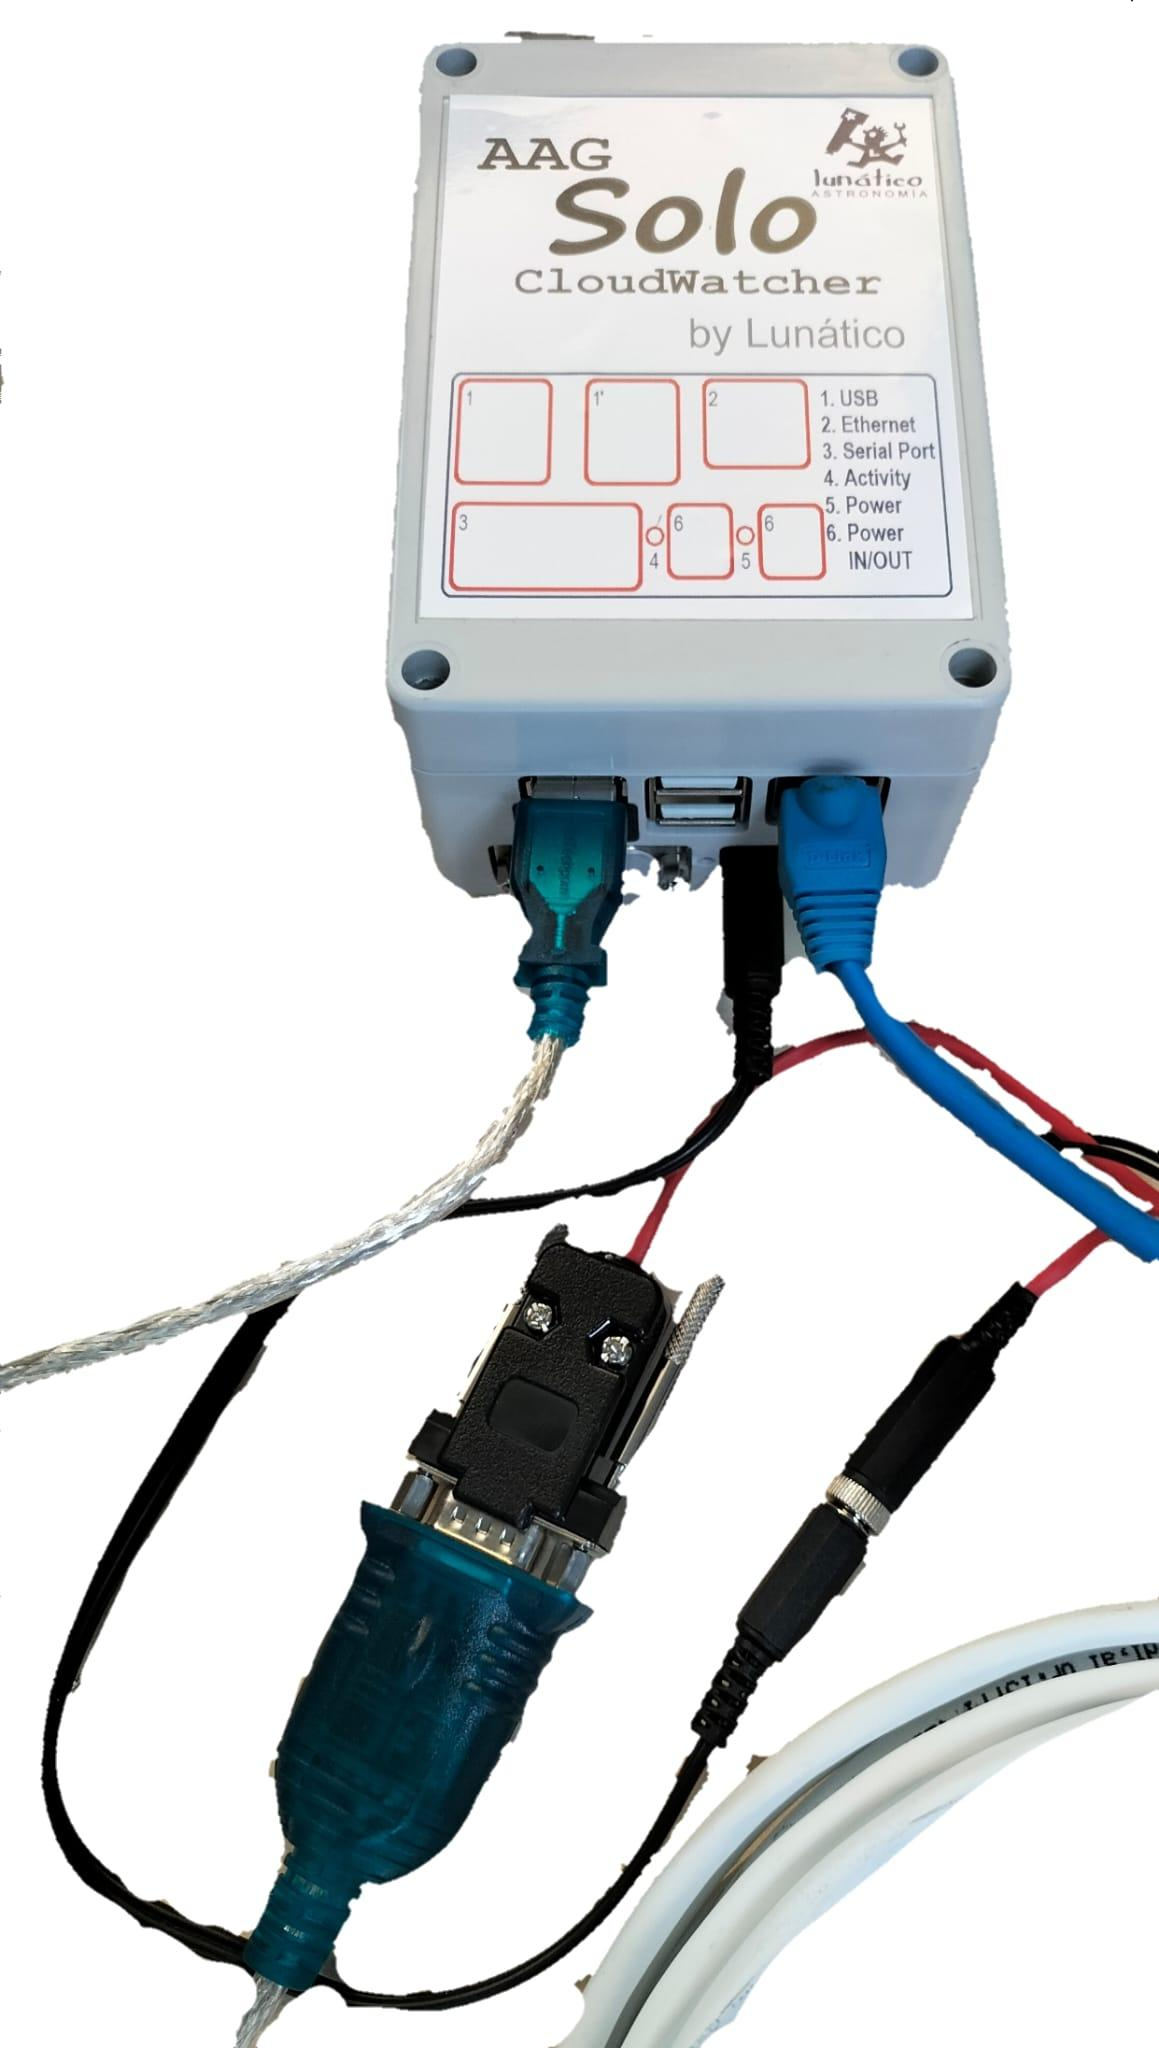
Your SOLO model R is now ready for use!