Hardware setup
Each Seletek connects to the PC via USB and appears as a virtual COM port (using the standard FTDI driver). You can connect as many units as your USB ports (or a USB hub) allow — each gets its own COM port assignment.
Use a powered USB hub if you are connecting more than two or three units, to avoid drawing excessive current from the PC's USB bus.
Software — one instance per Seletek
The Seletek software supports running multiple instances simultaneously. Each instance connects to one Seletek unit via its assigned COM port:
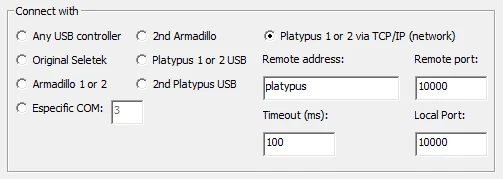
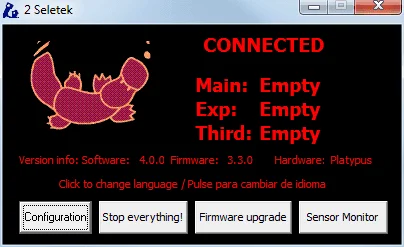
- Launch the Seletek software. On the connection screen, select the COM port for the first unit and connect.
- Launch a second instance of the software (open it again from the Start menu or desktop shortcut).
- In the second instance, select the COM port for the second unit and connect.
- Both instances run independently — each controls its own Seletek.
ASCOM drivers
Each Seletek unit has its own ASCOM focuser or rotator driver instance. In ASCOM-compatible software (SGP, Sequence Generator Pro, N.I.N.A., Voyager, etc.), you will see each Seletek listed separately with its COM port in the driver name. Select the appropriate driver for each piece of equipment in your automation software.
COM port persistence: Windows may reassign COM port numbers after a reboot or USB change. To avoid having to reconfigure, assign fixed COM port numbers to each Seletek in Device Manager (right-click the device → Properties → Port Settings → Advanced → COM Port Number).