When to use this procedure
Under normal circumstances, firmware updates are done through the Seletek software's built-in update function. Use this procedure only if:
- The Seletek is not recognised by the software after a failed update.
- The Seletek's USB device is not enumerated at all (no COM port appears).
- You need to downgrade to an older firmware version.
The Seletek is based on an Atmel SAM microcontroller with a built-in USB bootloader. Holding the Seletek's erase button while powering on starts the chip in bootloader mode, where it can be flashed via BOSSA or SAM-BA.
Tools required
- BOSSA (recommended) — open-source SAM flash tool with a simple GUI. Download from the BOSSA GitHub releases page.
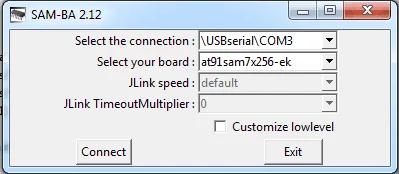
- Atmel SAM-BA — Atmel's official flash utility; also works but requires more configuration steps.
- The Seletek firmware .bin file — download from the Seletek software page.
Entering bootloader mode
- With the Seletek powered off, locate the small Erase button on the PCB (labelled ERASE or similar).
- Hold the Erase button down while connecting the USB cable to power the Seletek.
- Release the button after 1–2 seconds. The Seletek enters bootloader mode.
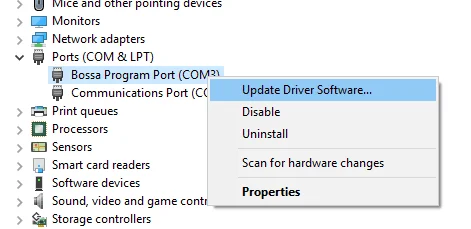
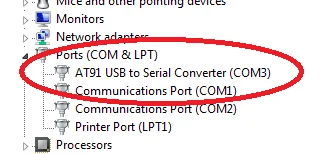
- In Device Manager, a new COM port or "Atmel SAM-BA" device should appear. Note the COM port number.
Flashing with BOSSA


After the flash completes, disconnect and reconnect the USB cable. The Seletek should now appear on its normal COM port. Launch the Seletek software and verify the firmware version shown in the About panel.
Settings after a flash: Flashing the firmware does not erase the registry settings (those are on the PC), but it does reset internal defaults stored on the Seletek itself. Check motor configuration and speed settings after the first connection.