
Congratulations on having acquired a CloudWatcher. Let's get you started right away! These are the steps you should follow to set up your device for the first time. Please note that if you are operating your CloudWatcher alongside a SOLO (which is recommended, even if not required 😉), we have another first steps guide for that.
- Unpack your CloudWatcher. Remove the plastic wrap and paper protecting the unit. Be careful not to touch the sensors—and do not remove the white coating.
- Install the latest software on your computer.
- Plug the cable to your CloudWatcher in one of the weather-resistant IP68 sockets. There are two of them; the cable goes in the one with seven pins.
- Connect the device to your computer using the DB9 connector, located on the opposite end of the cable. If your computer lacks an RS232 port, you will need an RS232-to-USB adapter, which can be purchased from most suppliers of computer equipment (or from us: USB to serial converter).
- Connect the CloudWatcher to power using the jack plug. The power supply should be 12 or 15 V, 1 A or more, and any polarity.
- The two other terminals (terminal blocks also included) are for the relay output. They will allow you to operate the opening/closing mechanism of your roof—but using them is optional.

- If you have purchased an anemometer to go with your CloudWatcher, you can plug it into the other IP68 socket, the one with just three male pins. Please note that if you are not connecting an anemometer, the cap should remain on the socket at all times to protect the device from the elements.
- Execute the Windows software. We are now going to set up the master installation—the computer that will collect the data from the CloudWatcher directly. For setting up remote installations (computers on the same network that gather the data through the master one), check out our guide on how to do that.
- Click on "Yes" when asked if this is the MASTER installation.
- Select the appropriate COM port. If you are unsure of which one it is, you can select any and press "test port"—note, however, that this will just check if the port can be opened, but it does not ensure that it is the one your CloudWatcher is plugged into.
- Press "Start". The connection might take a few seconds, but no more than that, until the data is displayed.
- Before physically installing the device, you will need to calibrate the rain sensor, which can be done indoors, in just a couple of minutes. Check in the software what the reading of the sensor is being dry, and set the "dry" setting approximately 5% below that value. Set the "rain" one at 15%. As for adapting your cloud detection thresholds, you may do it manually, based on empirical observations, or more thoroughly—either way, referring to this document will be helpful.
- Install the CloudWatcher:
- It should be slightly tilted (10 to 15° is perfect), to ease water evacuation.
- Having it point to the area where clouds usually start appearing is recommended, as it will allow for earlier detection.
- Between the device and its support, there must be enough space so water and air can freely flow. Please use the supplied (and already mounted) washers, although they are not necessary if using our mounting bracket.
- The cable should be pointing slightly downwards, to allow for the drainage of any water entering or condensing inside the unit.
- Lastly, please note that a place with a wide sky view and as far as possible from high-radiation areas (such as roofs or concrete flooring) is a highly recommended location. Alternatively, try to install it high above the high-radiation area to minimise its effect.
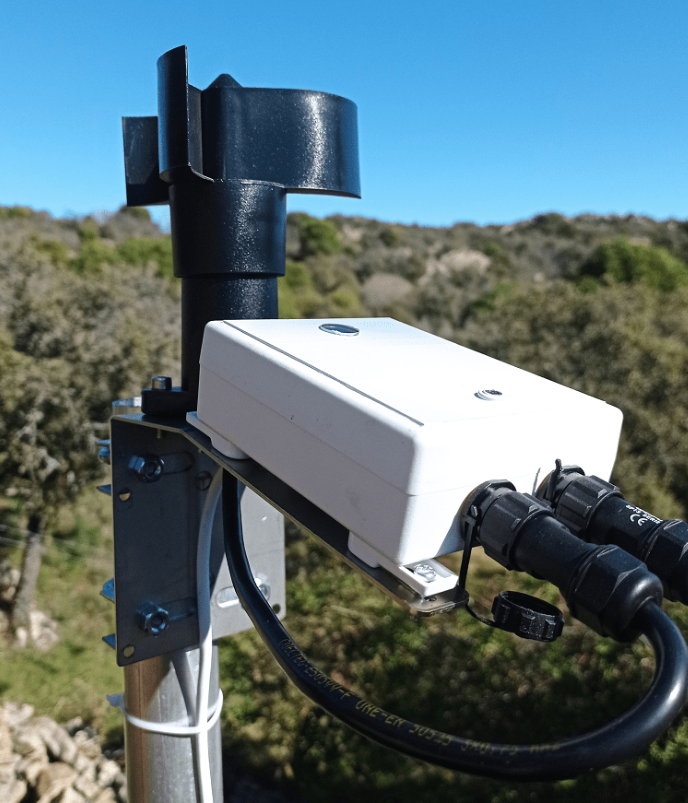
- You're all set! Enjoy being on top of any weather changes and having the safety of your equipment constantly monitored.
If you require additional information to operate your CloudWatcher, please refer to its manual or to our YouTube channel.
If you are experiencing issues, be sure to check our forum, or ultimately, reach out to us at support@lunaticoastro.com, and we'll be happy to help you out.
We hope you enjoy our product!