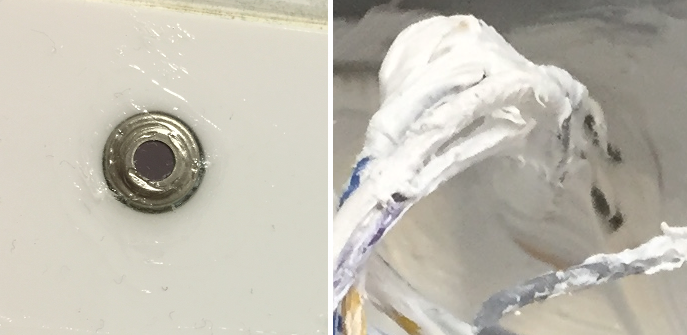
Note: if you notice the PCB is damaged, then, instead of replacing the sensor by yourself, the unit should be sent for checking to Lunatico Astronomia.
- Open the CW box—you'll notice a few wires joining the sensors on the cover to the PCB.
- You'll notice the IR sensor wires, top in the image (inside the red circle), with some white protection product. Press firmly from the outside to free the sensor (it's glued to the cover).
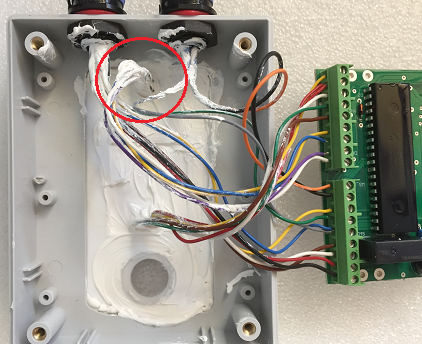
Now, depending on the serial number of your CloudWatcher, the procedure varies:
For units from serial number 1206 (June 2017)
- Loosen the 4 screw terminals holding the wires from the old IR sensor.
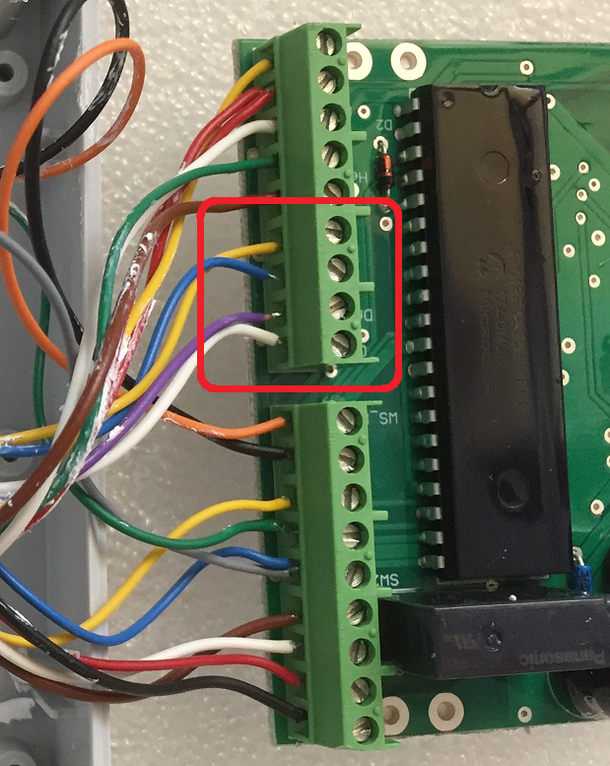
- Take note of the colours of the wires of the new sensor (keep in mind, purple could be green). Insert them in the terminals, as shown in the image:
For units up to serial number 1205 (June 2017)
- Notice where the leads from the sensor are soldered.
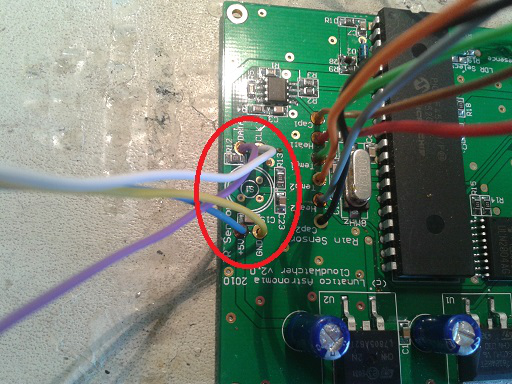
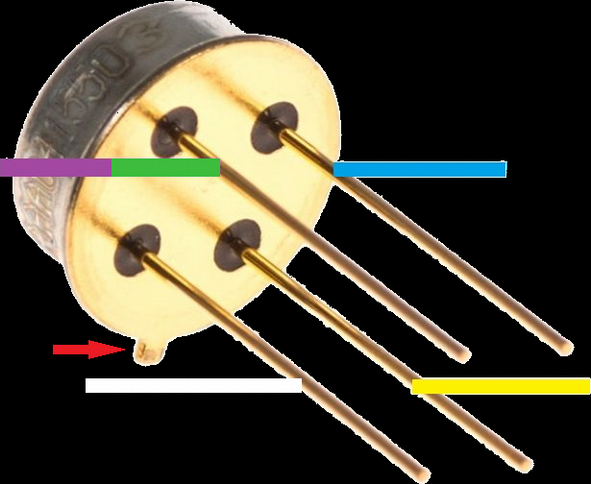
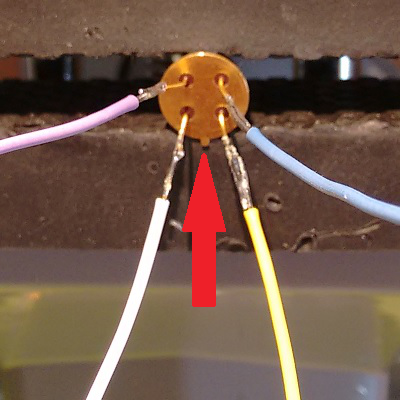
- Take note of the colour of the wires, in relation to the tab on the sensor (the colour code should have been honoured, but unfortunately that's not always the case):
- Unsolder the old sensor, solder the new one, using heat shrink tube. Apply some heat so the tube actually shrinks.
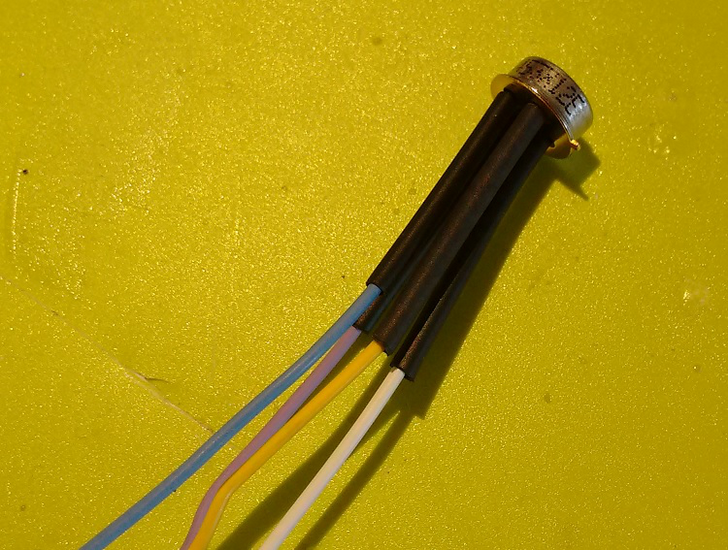
- Take note of the colour of the wires, in relation to the tab on the sensor (the colour code should have been honoured, but unfortunately that's not always the case):
Last step, in both cases
- Press the new sensor firmly into the cover, and apply a sealant both to the inside (generously) and the outside (scarcely here, just to fill the gap, but never touching the sensitive—central—part).
For sealant, we currently use Plastidip, so far the best option we've found. Alternatively, you can use a polyurethane-based sealant, and even silicone—just remember to check the sensor from time to time.