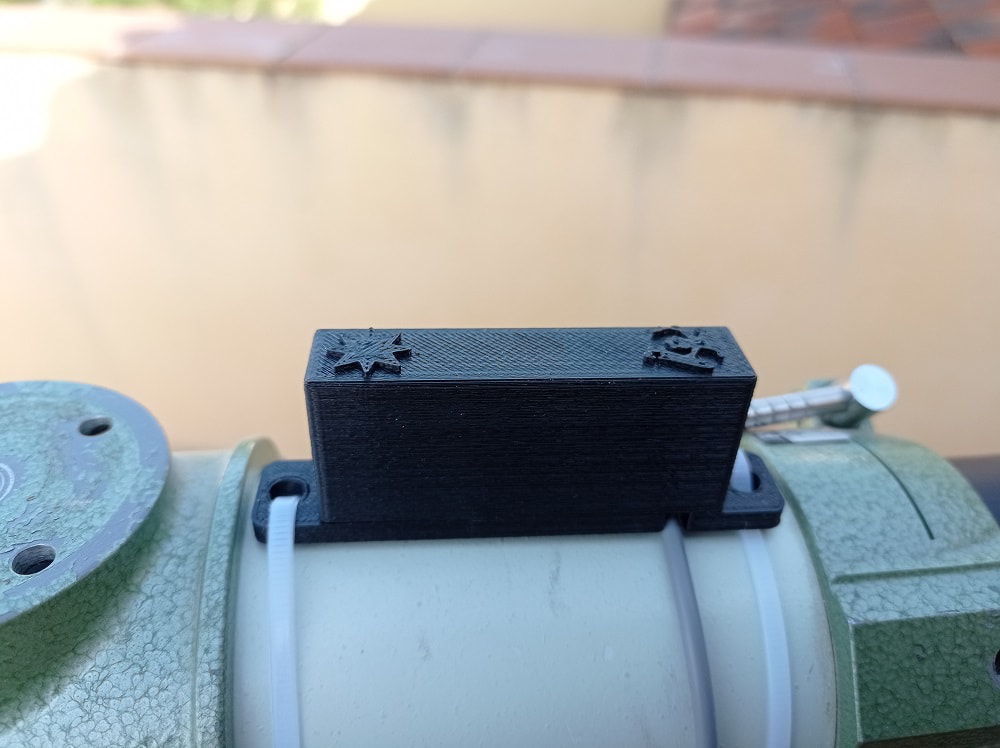
The cable can be bent to both sides of the sensor for easier installation.
Attaching it to the Dragonfly is simple: just take both wires to the "+5v" and "In" of any free sensor input, as here:
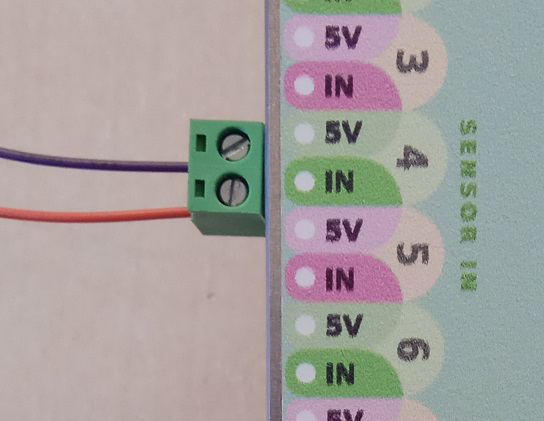
This is the same as connecting the limit switches for the roof. Also, there's no polarity to observe—any wire can go to any terminal.
Whatever the model, the star on the top side of the sensor should point to the sky when the telescope is active, and our little Christopher (the Lunático man with the spanner) at the CCD / eyepiece side:
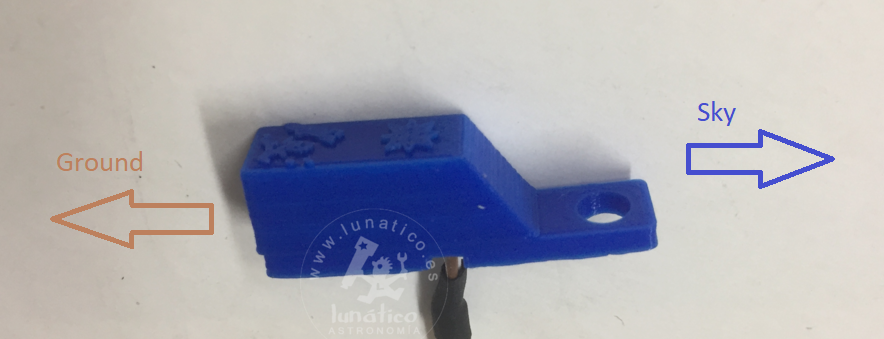
Which axis it senses
The sensor will detect tilt in the direction shown below (long axis):
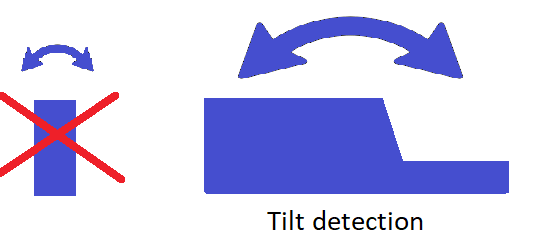
The other (short) axis should ideally be placed horizontal—we have, however, tested and the sensor works nicely with quite a tilt in this axis, so the sensor can be placed without much problem in a scope plate at latitude 45º (with the telescope parked in an east-west position, the plate, rings, etc., will be tilted by the latitude of the observatory).
In any case please test, and if needed shim the sensor so the horizontal / parked detection is ensured. The sensor will be closed (active) when the telescope is nearly horizontal.
Here it is mounted on a scope tube: