
Why a new sensor?
We've been improving the CloudWatcher since its launch more than 15 years ago; these upgrades—high-quality anemometer, humidity sensor, improved rain sensor, atmospheric pressure—have usually been relatively straightforward, with some bumps along the road but quite a smooth experience in general.
This time, however, adding the new "sky quality capable" sensor to the CloudWatcher has been a long process, with some difficult decisions to take, as none of them had a "clear-cut" best approach.
The filter
We could not use our previous "clear" methacrylate window for the older brightness sensor, as we imperatively need to reject wavelengths out of the visible spectrum now.
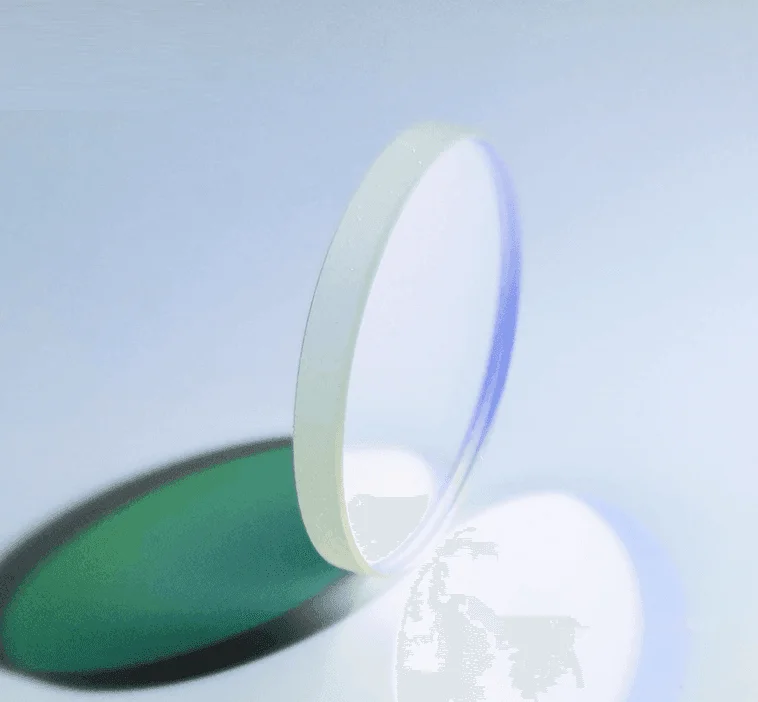
A standard astrophotography dichroic UV/IR filter has been chosen, as it will more closely reflect the amount of light that our CCD/CMOS camera will be receiving. These filters have been custom-made for us, full size, so they double as filters and as weather protection windows.
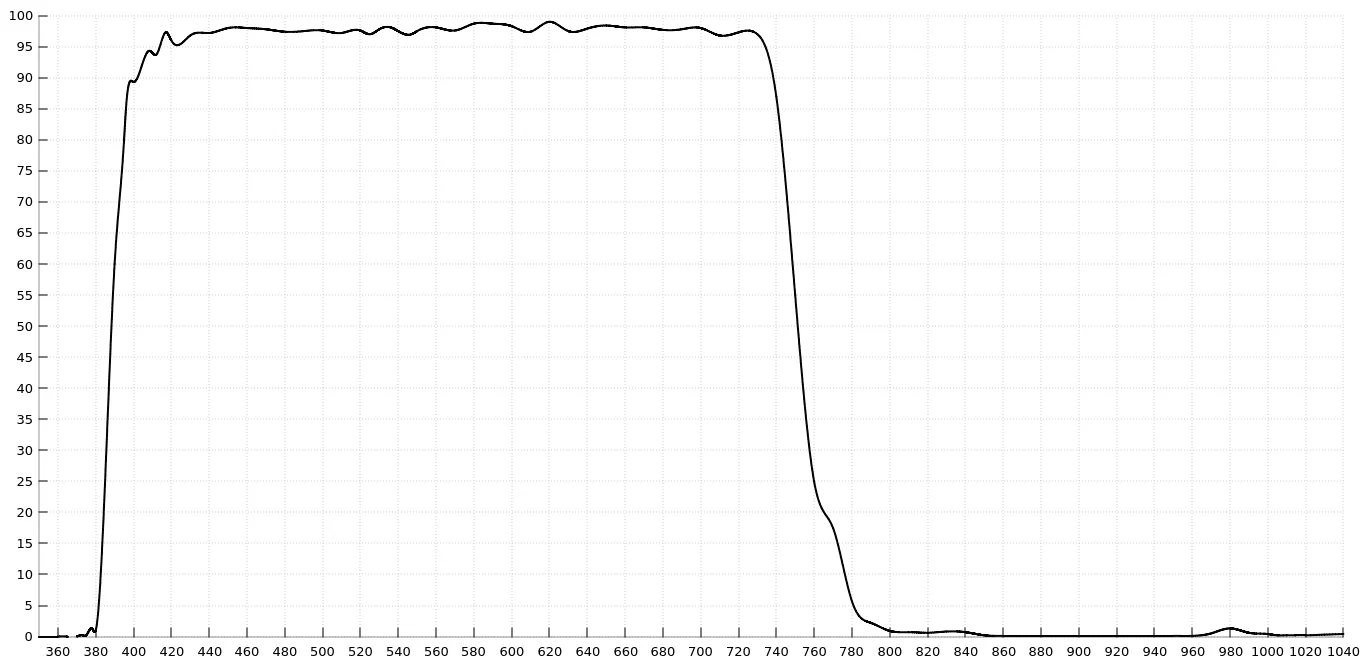
As the transmission curve shows, the filter passes around 97–98% of the light between roughly 400 and 730 nm—essentially the whole visible range—and both cutoffs are steep rather than gradual: transmission collapses below 380 nm on the ultraviolet side and above 740 nm on the infrared side, falling to just a few percent by 780 nm. That is what makes the readings comparable to what a camera sensor actually sees, instead of being skewed by invisible light. The same filter is used in the PocketCW2 and in the Lanternfish.
We also considered a photometry filter (expensive, and not as useful in our opinion). The fact that broad spectrum LED lighting is becoming increasingly common has influenced this decision.
Field of view
We have decided to go for a wide field of view: 100% sensitivity directly on top of the sensor, dropping to about 20% at nearly 120°. Taking into account the CloudWatcher is in a static position, it seems more interesting to monitor the majority of the sky—and again, the contribution of the near zenith will be the most important.
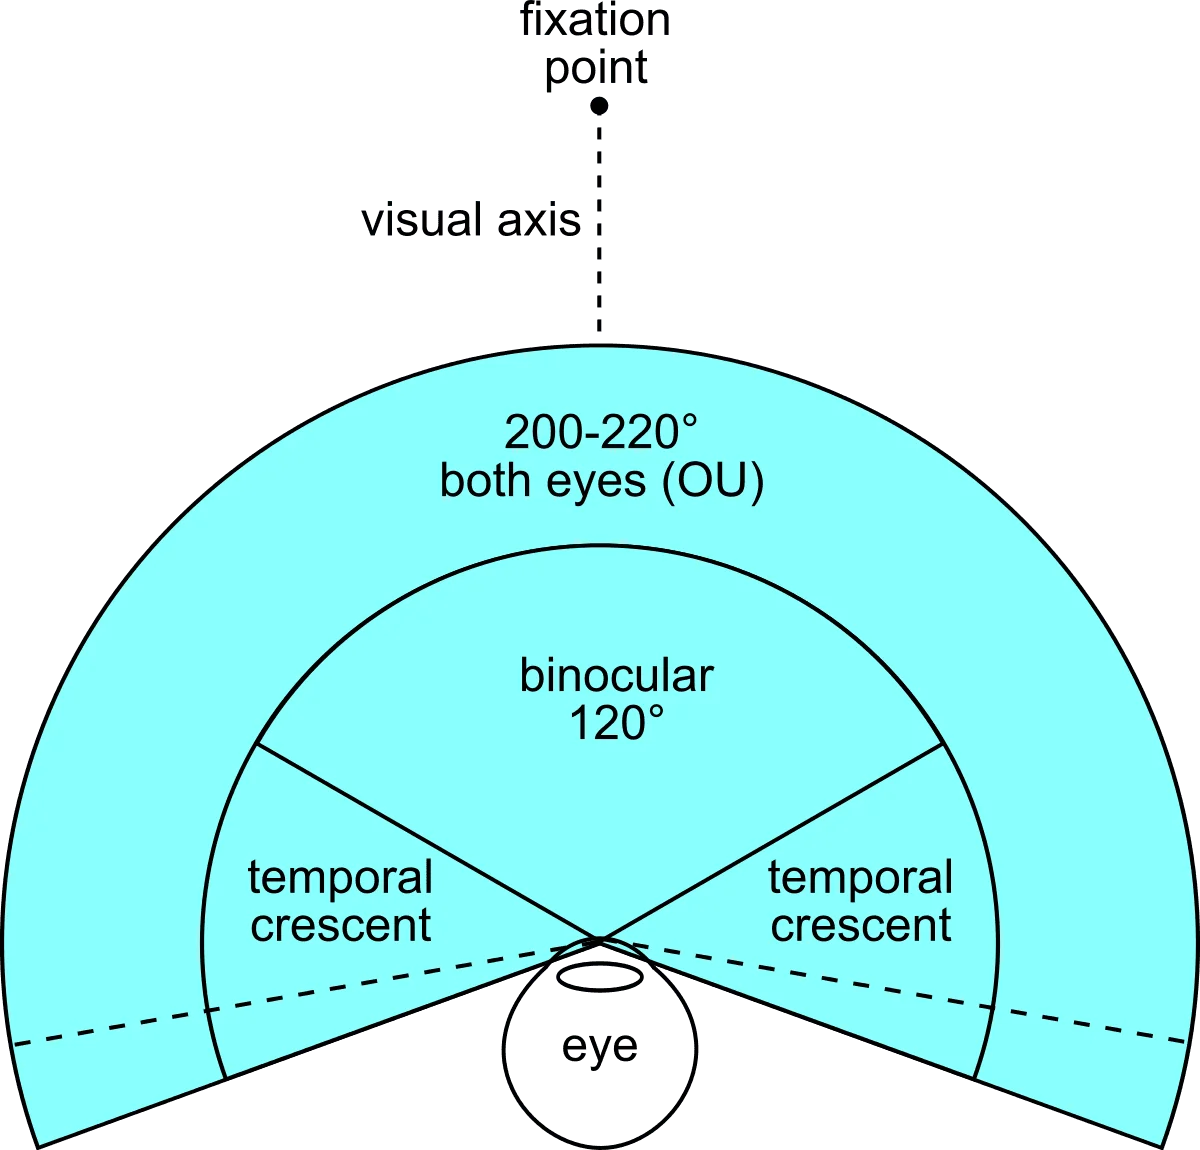
This, of course, may not be the case for everyone, but we expect it to be a good idea for most instances.
Our aim to keep the CloudWatcher as safe as possible also influenced this decision, its main mission still being to be a safety device. Any light collecting device, concentrating light into the sensor, meant a (slight) safety issue under certain extreme conditions.
Calibration
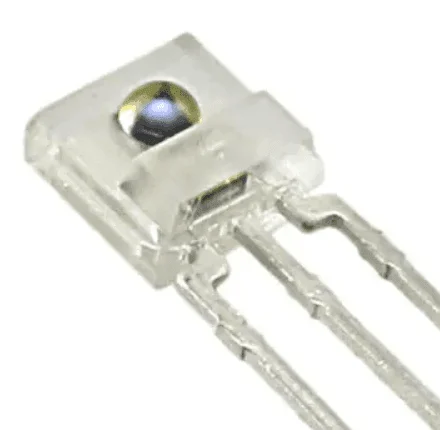
Regarding calibration, there were two decisions to be made: how, and where. Again, in the spirit of keeping the costs reasonable—something increasingly difficult in the post-COVID era, with component shortages and crazy pricing—we have decided to perform a basic calibration at the factory, and leave up to the user the option to go for a more accurate one.
Click here for a step-by-step guide for this calibration.
What you can do with it
We really hope this upgrade will be useful for the vast majority of our users. It will:
… and who of us doesn't love having more meaningful data?
The light sensor data is available through the standard CloudWatcher software and ASCOM driver alongside all other sensor channels; no additional setup is needed to start logging brightness readings.